Clock work winder attachment
Intention: attach the clock work winder piece made previously to the sword handle so that it holds the handle to the blade. Keeping in mind that the blade has a thread running its length and 25cms are exposed.The process use is:
Drill a hole in the end cap of the handle for the threaded rod to pass through
Attach the thread to the clockwork winder.

ABOVE: first check, using the back of the drill bit, that it will be wide enough for the thread
 |
| ABOVE : mark where the thread will be passing through the end cap of the sword handle, then using a hole punch gently tap the center mark. The best way to 'gently' tap is to choke, this is done by holding the hammer very close to its head. Double check the mark, you only get one shot at this. |
 |
| ABOVE : Carefully drill the hole, applying firm pressure with the electric drill. NOTE: you will need to wear a thick leather glove as the metal will get VERY hot. |
 |
| ABOVE: insert the rod through the end cap to make sure that it is positioned correctly. |
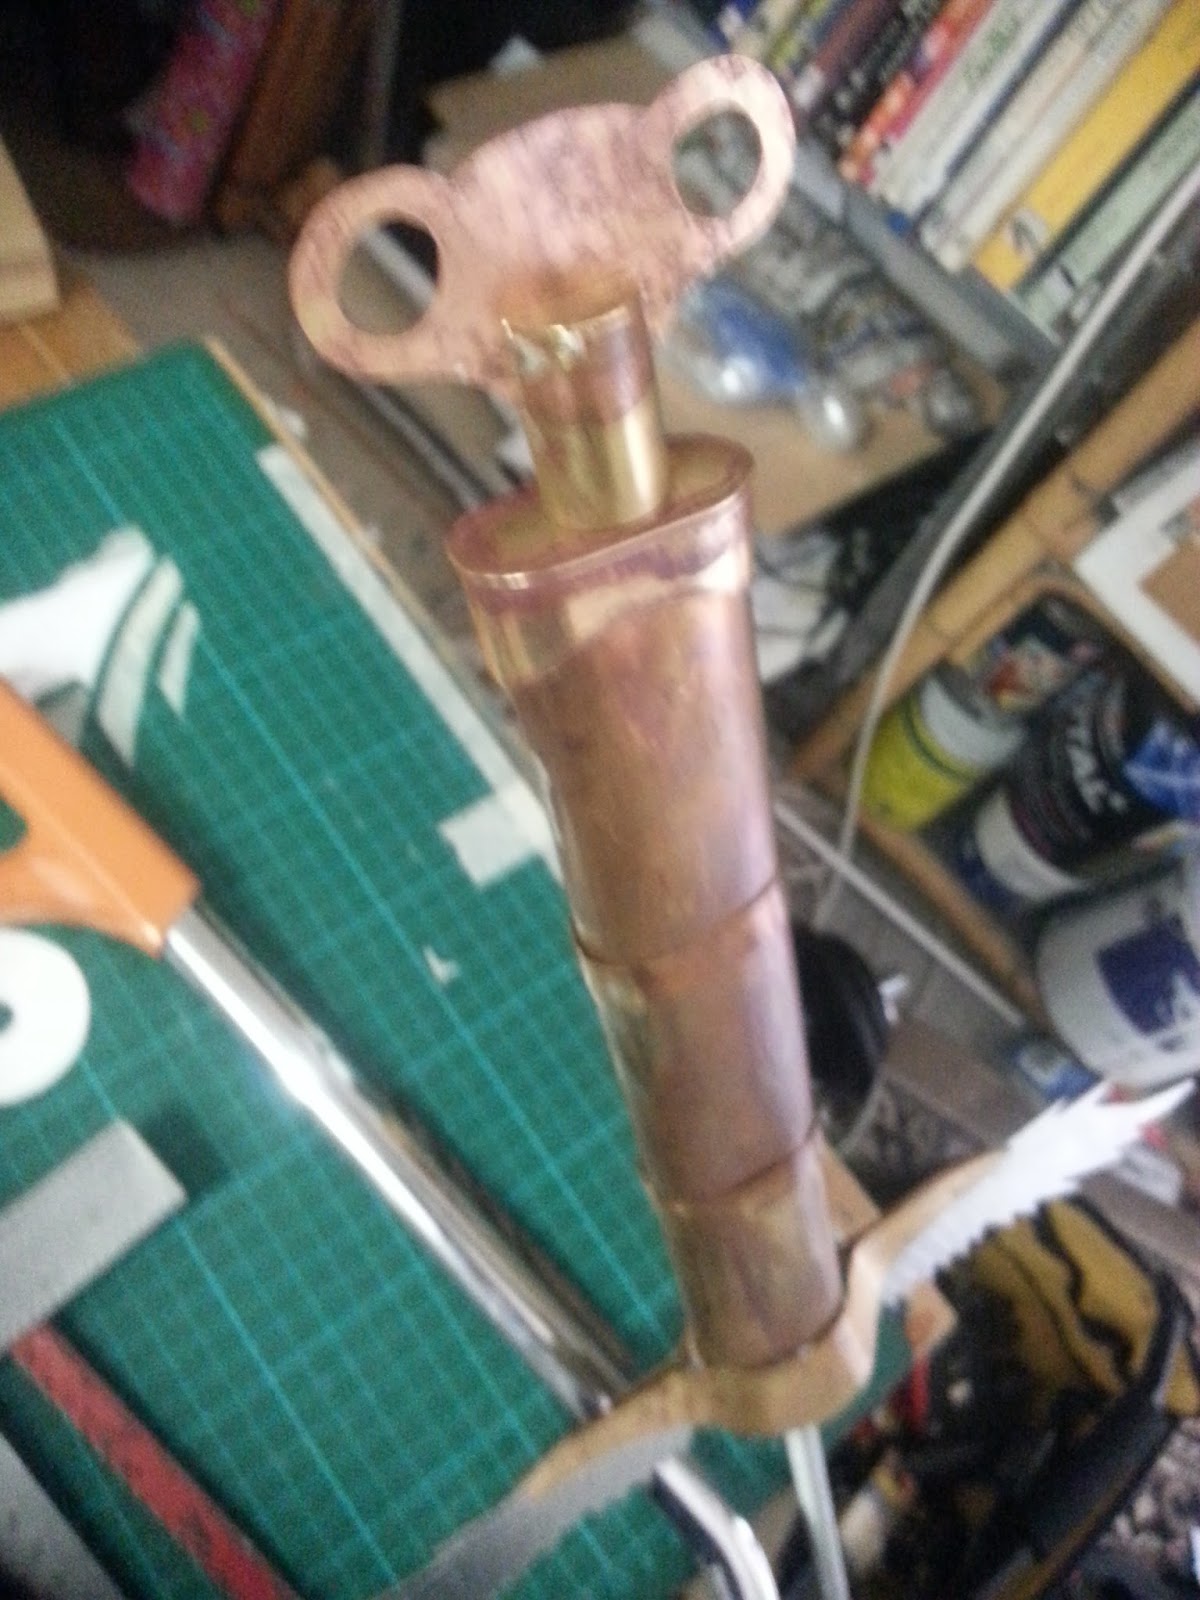 |
| ABOVE: the entire sword handle joined together on the threaded rod. |
Brass texturing and refinement of handle
To get an aged surface, I used the sulphur technique, for details on the process go to:
http://artworkprocess.blogspot.com.au/2015/09/jc-week-7-how-to-diy-antique-brass.html
The changes to the quantities were one egg per brass piece, and the were left overnight in the sealed bag.
Once the brass in this project had been patina'd to the desired amount the next step was to remove the excess silver solder on the joins ( Figure 1). To do this:Step 1: Use coarse grit sand paper to remove the bulk of the excess silver solder from the seams of the brass pieces.
Step 2: Use the nail file, to smooth the surface of the brass
 |
| Figure 1 |
 |
| ABOVE :Tools used for removing silver solder seams and for buffing the brass surface: Yellow sheet = P40 coarse sand paper , large rectangle = MDFsheet , Nail file Far Left: Test of silver solder powder and buffing. |
Increasing visibility of the embossed surface of the brass segments.
After the petinaing of the brass handle segments, it was very difficult to see the embossing of the brass surface. The solution used was to grind a stick of medium silver solder (figure 2) into a powder and apply that powder to the brass segments. Then, using a 15cm x 4cm strip of MDF timber, the surface of the brass is polished. This process removes the excess silver and some of the patina from the raised edges and leaving the coloration in the grooves (figure 3, figure 4).
 |
| (figure 2) ABOVE : a strip of silver solder |
 |
| figure 3 |
 |
| figure 4 |
No comments:
Post a Comment